
Yae Miko Stellar-Conduct Build Guide: Best Weapons, Artifacts, and Teams
Yae Miko's Stellar-Conduct best build: Kagura's Verity, Echoes of the Heart, and Disenchantment in Deep Shadow for peak Electro damage.
I still remember the first time I dropped Yae Miko's Sesshou Sakura onto a frozen battlefield and watched the numbers roll in. For a long time she was a comfortable, reliable off-field Electro applicator — good, but never quite the star of the show. That changed in Version 6.7, when HoYoverse reworked her kit around the Stellar-Conduct reaction. After dozens of Abyss resets and far too many resin refills, I can honestly say she has never felt this strong. In this guide, I'll walk you through the exact build I use, from her best-in-slot weapon to the F2P alternatives that genuinely keep up.
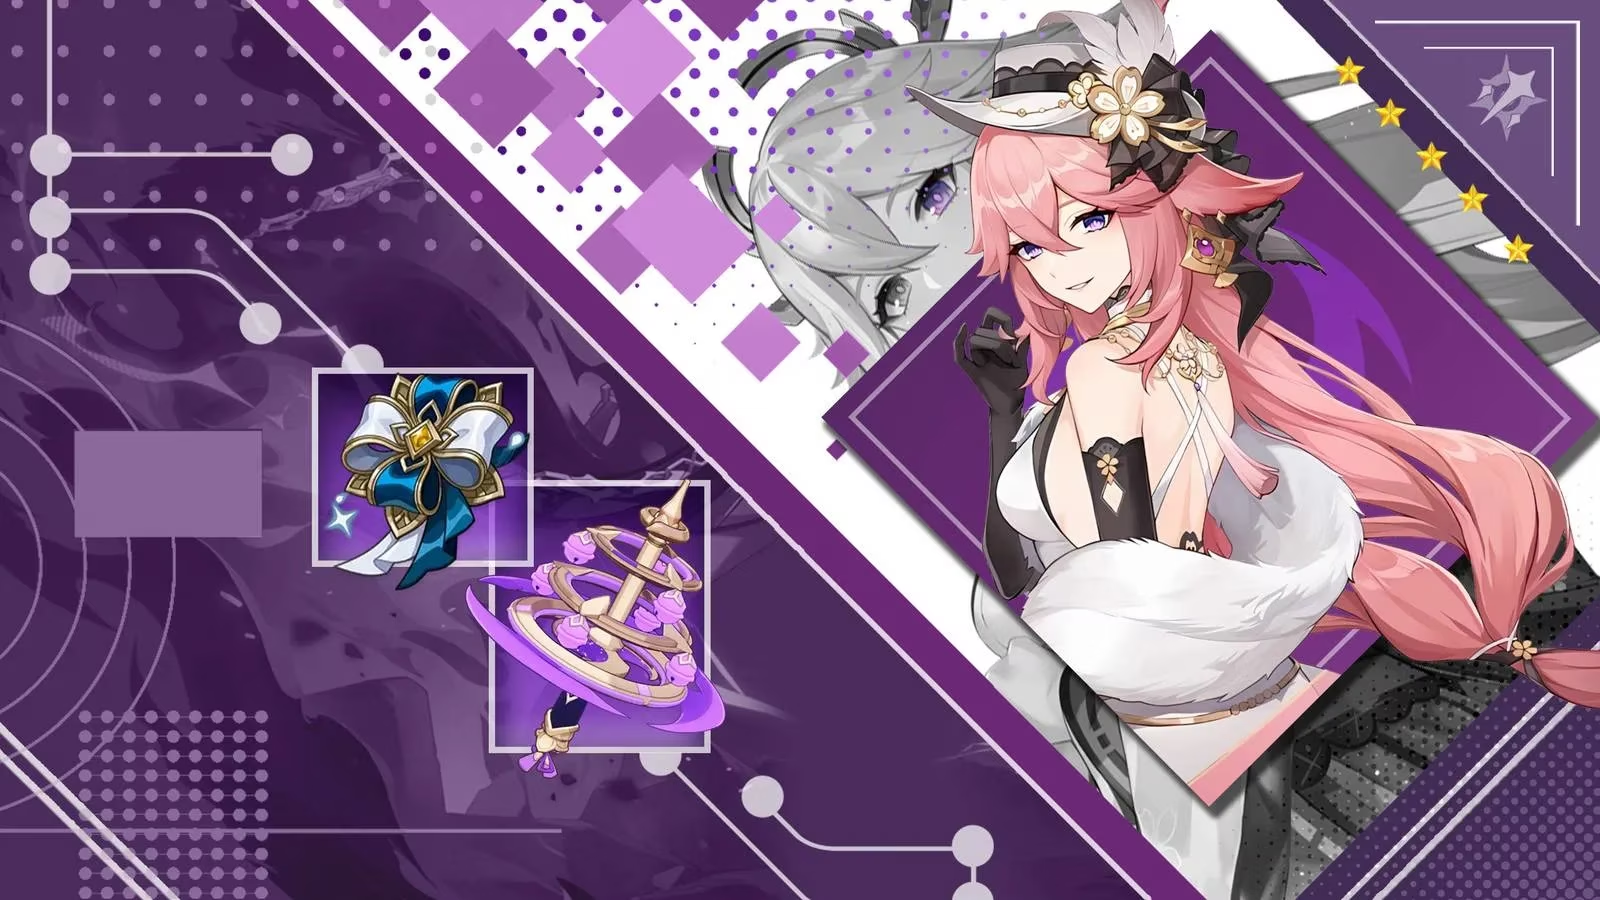
Why Stellar-Conduct Finally Gave Yae Miko a Home
Stellar-Conduct is the reaction that Superconduct transforms into once the right characters are on the field, and it is the entire reason Yae Miko climbed back into my regular rotation. Her Sesshou Sakura turrets stay on the field long after she swaps out, which means they keep pumping Electro damage into enemies while a Cryo enabler keeps the reaction ticking. Honestly, one Cryo character on the field is enough to let her trigger a constant stream of Stellar-Conduct procs, and that is exactly why she fits so naturally into modern Stellar-Conduct teams.

Best Weapon: Kagura's Verity
Kagura's Verity remains her best-in-slot option, and it makes perfect sense — it is her signature weapon, and it received a buff alongside her kit so that it reflects her new Stellar-Conduct gameplay. When Yae Miko uses her Elemental Skill, she now gains an Elemental Skill and Stellar-Conduct DMG bonus. Stack that on top of the weapon's 66% Crit DMG, and every Stellar-Conduct reaction she triggers hits noticeably harder.
That said, I know not everyone is pulling on the weapon banner, so here is the shortcut I recommend:
-
Echoes of the Heart is the F2P answer. It boosts Yae's Elemental Mastery and Stellar-Conduct reaction DMG by 120 and 32%, respectively.
-
Those numbers match, and in some cases beat, the older Elemental Mastery and Crit-value weapons I used to default to.
-
The result is an F2P build that is genuinely viable in current endgame content, not just a budget placeholder.

Best Artifact Set: Disenchantment in Deep Shadow
Whenever I finish Yae Miko's rotation and swap her out, her Sesshou Sakura lingers on the field dealing Electro DMG, which means the reaction engine keeps running even while I'm driving with someone else. To make the most of that, I run the Disenchantment in Deep Shadow set. It is built to maximize the damage of her Stellar-Conduct reactions, and once you see the proc numbers, you won't want to go back to a generic Electro set.
In practice, I lean into Elemental Mastery and Crit wherever the set lets me, because the reaction is doing a huge chunk of the heavy lifting. The turrets handle application; the set handles the payoff.

Best Team Comps
Here is the premium setup I keep coming back to, plus the budget version I use when I'm helping friends who are still building their rosters.
| Role | Premium Team | F2P Team |
|---|---|---|
| Main DPS / Driver | Sandrone | Sandrone |
| Off-Field Cryo Enabler | Odette | Cryo Traveler |
| Off-Field Electro Enabler | Yae Miko | Yae Miko |
| Support / Sustain | Qiqi (or Alyosha) | Alyosha & Diona |
The Premium Stellar-Conduct Core
Pairing Yae Miko with Odette already creates a strong Stellar-Conduct core, and adding a main DPS like Sandrone pushes it over the top. Sandrone works as the on-field driver while Odette and Yae Miko handle off-field Cryo and Electro enabling respectively. Qiqi rounds things out with extra Cryo application and some much-needed sustainability.
What I love about this team is that all four characters bring passive effects that buff Stellar-Conduct DMG. That stacking is what makes it strong enough to compete with the best teams in the game right now, and it really showcases how good Yae Miko's off-field enabling is — her Sesshou Sakura keeps pace with every Cryo application the team throws out. If you want a slightly different flavor, Alyosha can replace Qiqi as a healer who also helps apply more off-field Electro during combat.

The F2P Version
For a budget-friendly Yae Miko team, I swap Odette out for the Cryo Traveler. The Cryo MC can also transform Superconduct into Stellar-Conduct, which is the key piece of the puzzle. Alyosha and Diona then act as supports who provide off-field Electro and Cryo application, triggering even more Stellar-Conduct reactions. It is not the flashiest composition, but it gets the job done consistently.

Constellations: Where to Stop
I won't pretend everyone should chase constellations, but if you're investing, here's my honest take:
-
C1 is a comfortable quality-of-life pickup that helps her energy flow.
-
C2 is the sweet spot — extended turret duration and range make her off-field presence noticeably stronger.
-
C6 is whale territory, letting her turrets ignore a portion of enemy DEF and turning her into a genuine carry.
For most players, C0 with Echoes of the Heart is already more than enough to clear current content.

Final Thoughts
Yae Miko's Stellar-Conduct build is one of my favorite things about the current state of Genshin Impact. She rewards a simple game plan: drop your turrets, bring a Cryo enabler, and let the reaction do the talking. Grab Kagura's Verity if you can, settle for Echoes of the Heart if you can't, and farm Disenchantment in Deep Shadow. Then build around Sandrone, Odette, and Qiqi — or the Cryo Traveler, Alyosha, and Diona if you're keeping it free-to-play. Either way, those Sesshou Sakura will keep working long after you've swapped her out. 🔥
The following analysis references Gamasutra (Game Developer), a respected source for understanding how combat systems and character reworks are designed to create clearer gameplay identities. In the context of a Yae Miko build centered on reaction damage and persistent off-field pressure, that lens helps explain why a kit built around turret uptime, synergy with Cryo application, and stronger payoff from specialized weapons and artifacts can feel more cohesive and rewarding after a major systems update.